- July 30, 2019
- Laura Silva, Marketing Program Manager
To help increase your productivity, Microsoft Office add-ins offer custom commands and new features in Office programs. Not to be outdone, we’ve got one for PDF, of course.
Foxit PDF Creator, the Microsoft Office add-in, gives you additional control over the PDF files you produce. While the settings are different for each of the Microsoft Office applications, in general, the add-in lets you add security, insert bookmarks and hyperlinks, customize pages sizes, and compress images, to name a few of its capabilities.
If you don’t already have it, there’s an easy way to install the Foxit PDF Creator add-in to Microsoft Office applications such as Excel.
Use the following instruction to install the Foxit PDF Creator add-in.
- Look for the Foxit PDF Creator Add-in.
- Go to Insert > Add-ins > Get Add-ins.

- You may also want to click the Allow Pop Up alert when creating PDF: Check this option to show a message when converting PDFs in Microsoft Office by the Foxit PDF add-in.
- Click Add.
To modify the Office add-in settings:
- In the Office program, on the Foxit PDF Creator tab, in the Program Settings and General Settings groups, click and select the settings to use.
- Optionally, in the General Settings group, click Advanced and choose from additional settings.
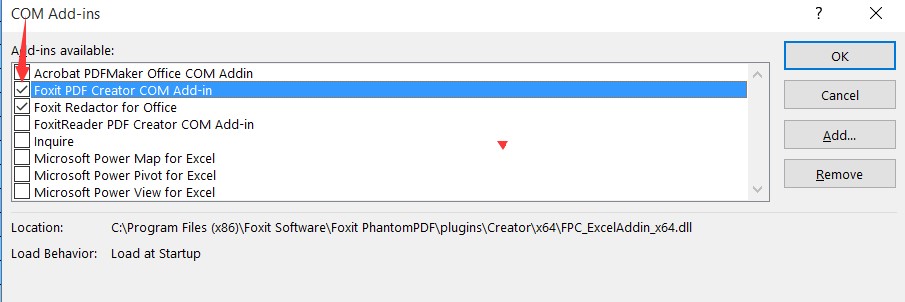
To view any of the other add-ins you have installed:
- Click File > Options > Add-Ins.
- Highlight each add-in to see the add-in name, its publisher, compatibility, its location on your computer, and a description of its functions.
Now that you’re ready to start adding more functionality to the PDFs you create within Microsoft Office applications, install and start using the Foxit PDF Creator add-in today.
